Problems with Deleted Transactions
Are you having a problem where transactions are getting deleted and you do not want your Users to have the ability to delete the Transactions? As long as you never want to use the Delete button, you can disable it and it will NOT show on the right-hand side of the screen.
For example – you want to disable the Delete button on Purchase Order Receipts:
Below you see the Delete button over to the right.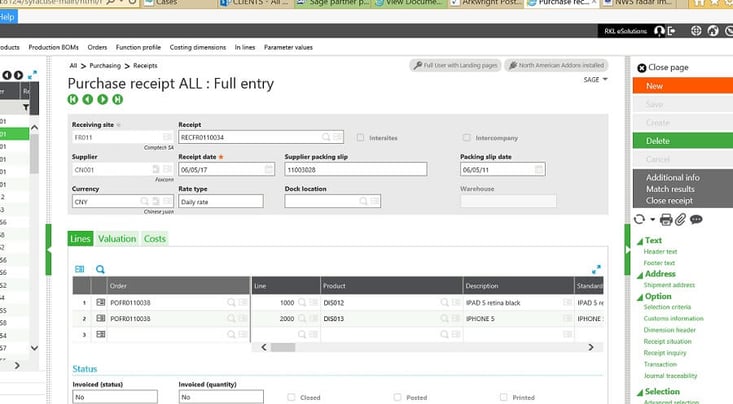
- To disable the Delete button - do the following:
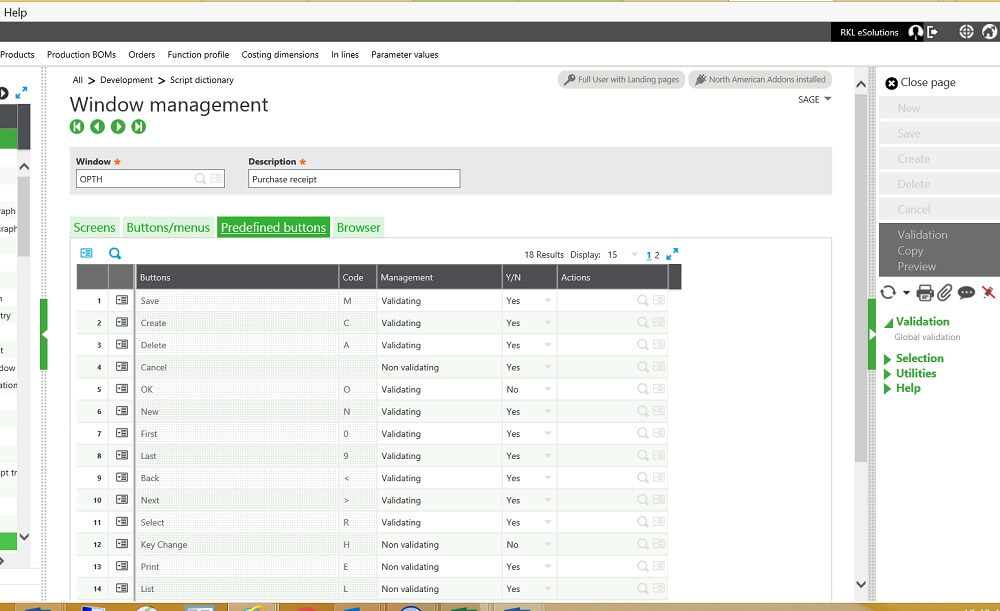
Go to the Window for the screen in question, in this case for Purchase Order Receipts, the Window is OPTH. Go to Development > Script Dictionary > Windows
Choose your window – OPTH from the left list and go to the ‘Predefined Buttons’ Tab
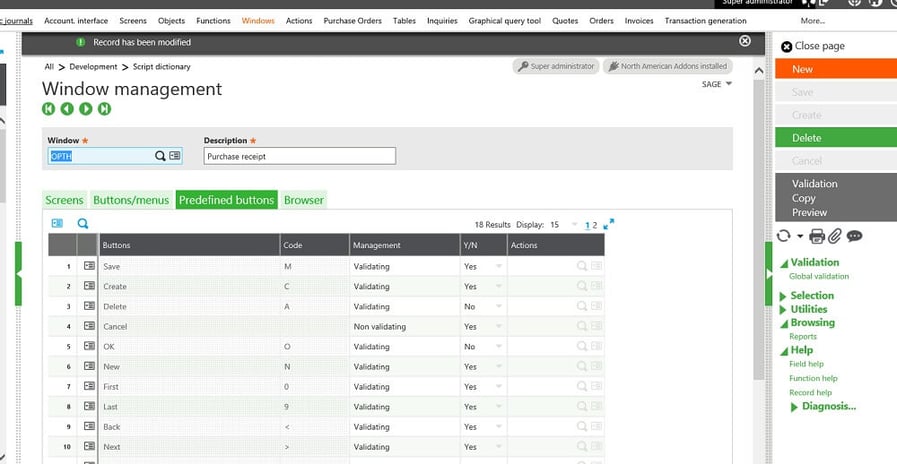
On the line for Delete, line 3 in this example - in the Y/N column change this to No.
2. See below it is changed to No
Click the Save button and then the Validate button
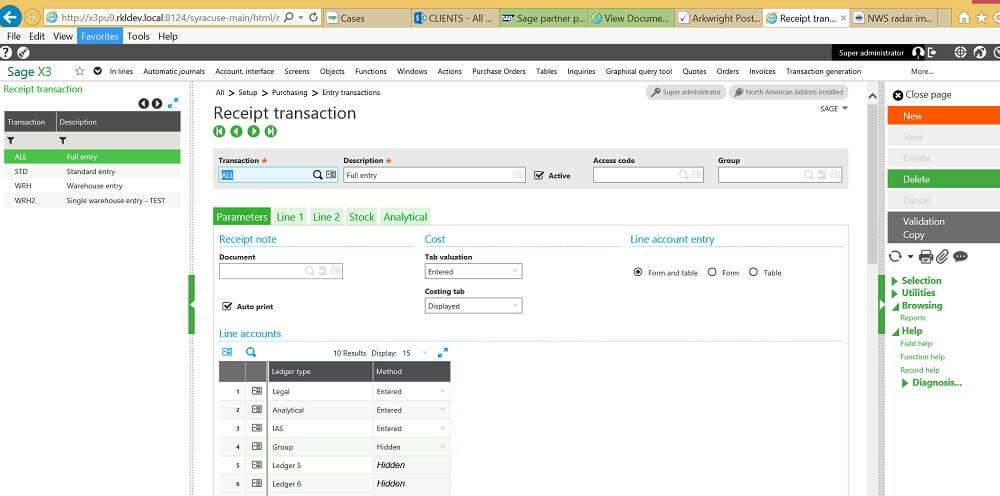
3. Now you must validate the Entry Transactions. Go to Setup > Purchasing > Entry Transactions > Receipts
Choose each line in the left list and click on the Validation Button.
After all the Entry Transactions have been validated – log out of X3 and back in.
It is very important that you and your users log out and back in for the change to take effect.
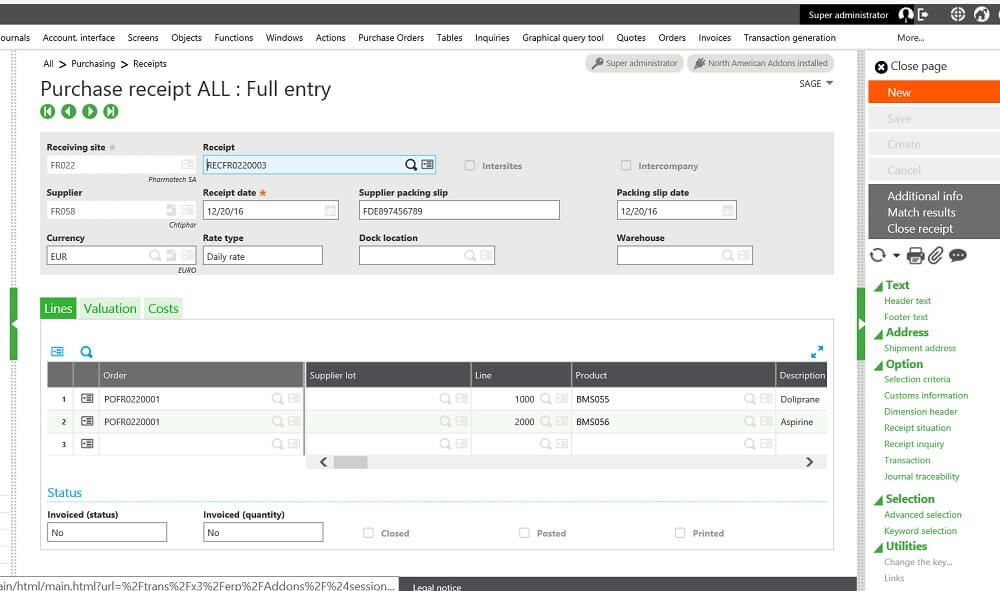
4. After logging back in – go to Purchasing > Receipts > Receipts – as you can see below the Delete button is no longer available.
If you change your mind and want to enable the delete button, then go back to the Window and change the column value to Yes, Save and Validate.
Then go to the Entry Transactions described above and validate them all.
Now log out and back in and the Delete button will show on the right and will be enabled.
Now you know how to disable the transactions delete button in Sage X3.
Have Questions or Need Help?
 Click below to get in touch with us here at RKL eSolutions if you have questions about Sage X3 or have a problem we can try and fix it.
Ask a Question


