The Audit function tracks the insertions, deletions and modifications carried out on any table, with optional storing of the before and after values in any field you specify.
The example below will trigger audit records for any user who changes Accounting Code for a Product record.
You first need to activate the AUDIT activity code if not already activated.
Go to Development, Data and parameters, Development setup, Activity Codes.

Next, you will turn on the Audit Tracking for the desired table.
Go to Development, Data and Parameters, Tables.
![]()
- The Type of Audit option allows you to track who created, modified and/or deleted a record in the specified tale.
- The Fields audited grid allows you to select the specific fields that were modified. This is optional.
- The Workflow option under Functions can be used to automatically send notifications using the UPDFLD Workflow rule.
**The AUDITH (Header info – table change) and AUDITL (field values before and after) tables will record the activity based on the options selected. **
Click on ‘Validation’ when you have finished defining the auditing characteristics for the table.
Setup the Workflow (optional)
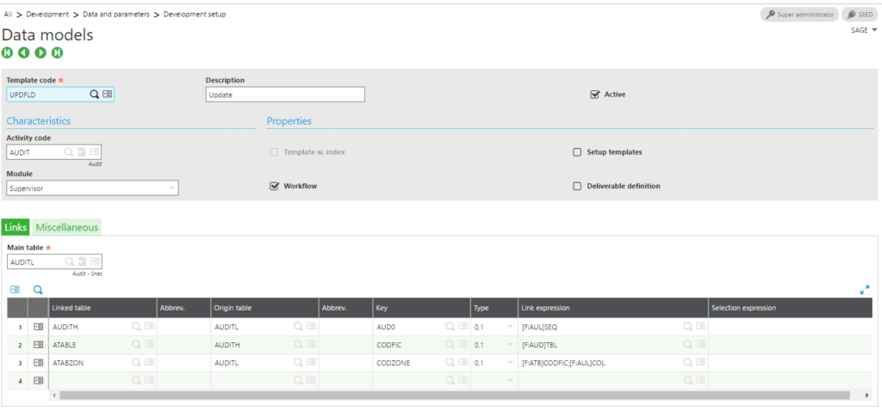
Expand Development, Data and Parameters, Development setup, Data models.
- Set the UPDFLD Template Code to ‘Active’.

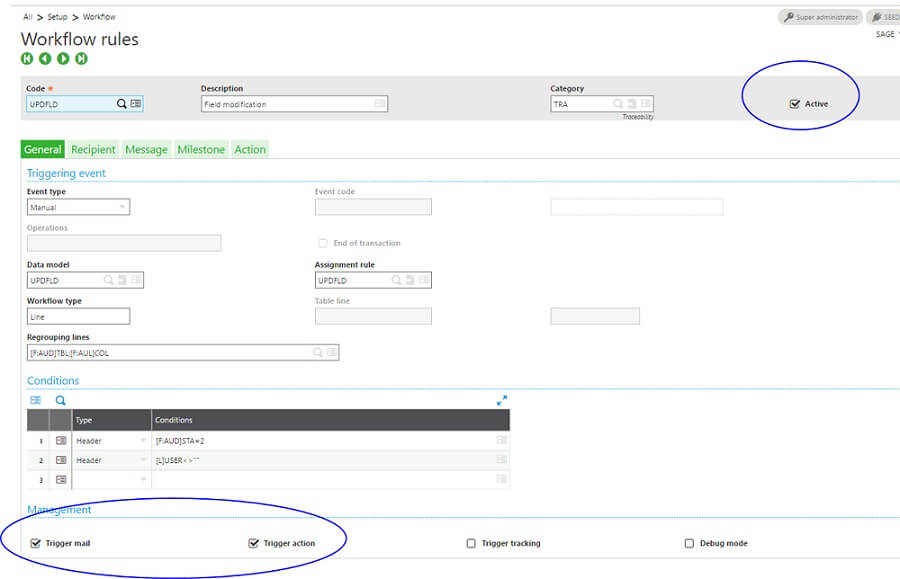
Go to Setup, Workflow, Workflow Rules.
- Make sure ‘Active’ is checked for the UPDFLD Workflow.
- Make sure ‘Trigger Mail’ and ‘Trigger action’ are checked.

Define the Recipients on the ‘Recipients’ tab.

View the Audit History for the table
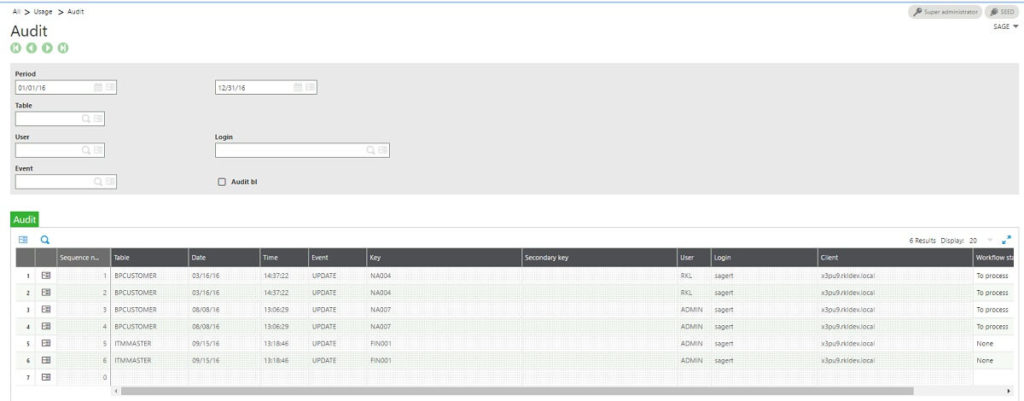
Go to Usage, Audit, Tables
- Each time a change is made to the table it will display here if the table is setup to be audited.

- To view the details of the modified field click the Action box and select ‘Details of Fields’.

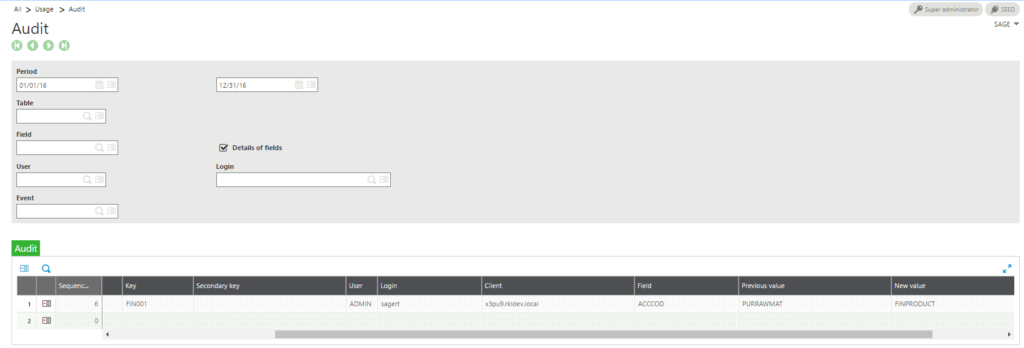
Go to Usage, Audit, Fields
- You can also view the previous value and new value of the tracked field from a table.

Now you have the tools to implement the audit tracking function in Sage X3. You can read more of Leann's blogs on our blog page.


