Keeping your Sage X3 folder data up to date is crucial for ensuring the smooth running of your business operations. As a leading provider of Sage X3 solutions, we are often asked by clients how to refresh their X3 folder data to ensure it is current. To help you with this, we have put together a step by step guide that will show you exactly how to do it.
1. Log into the PROD folder as the ADMIN user. Under Development> Utilities > Extraction/ Integration, run the Data extract function.2. Accept all of the defaults and click the OK button.
>3. A status bar will display the progress of the data extraction. Depending on the amount of source data, this process may take some time.
4. Once complete a log will display. Scroll through the log to determine if there were any errors during the export. If the extraction was successful, exit the Sage X3 application.
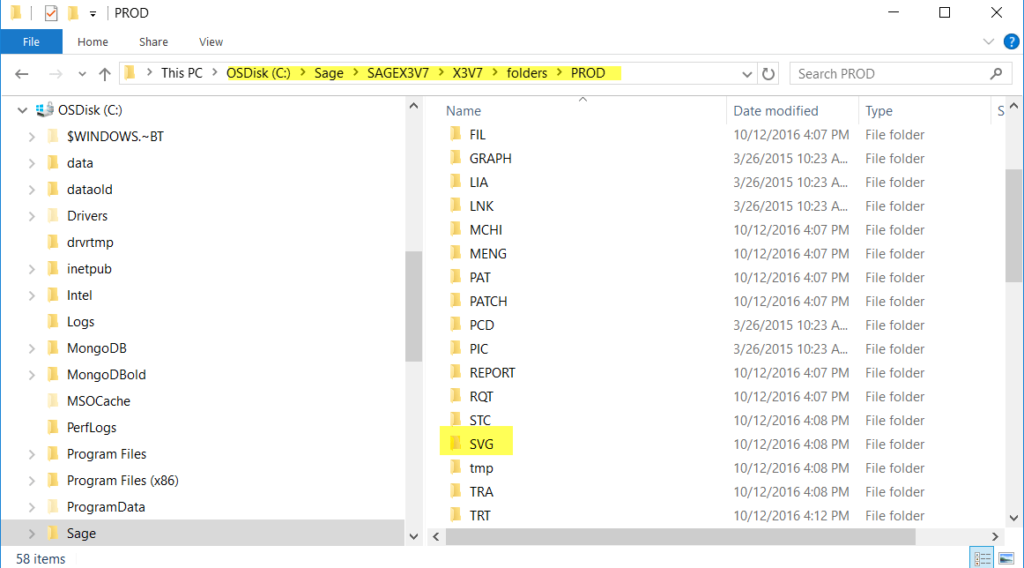
5. Delete the SVG directory of the TEST folder using windows explorer.
6. Copy the SVG directory of the PROD folder and Paste it into the TEST folder directory.
7. Log into the TEST folder in Sage X3 as the ADMIN user.Navigate to Development> Utilities > Extraction/ Integration, and run the Data integration function.
8. Navigate to Development> Utilities > Extraction/ Integration, and run the Data integration function.
Click below to subscribe and have this blog series sent straight to your inbox!
Subscribe to the Blog Series


