Most times clients do not use the AP Check format that is delivered with Sage ERP X3. So for this example I am going to be creating a custom version of AP Checks. We will be starting with the base format and just making a copy of it to use instead of starting from scratch.
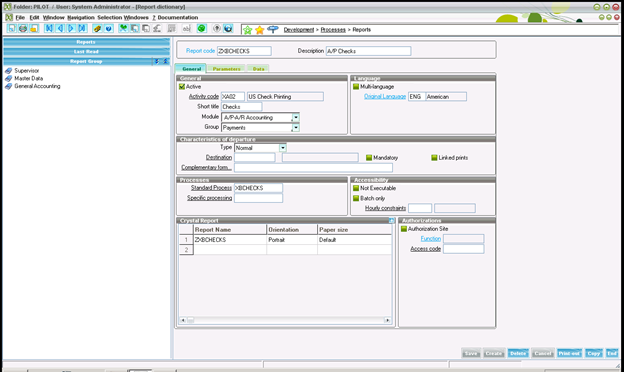
- Go to Development -> Processes -> Reports
- Pull up an existing report code (e.g. XBCHECKS)
- Add a "Z" in front of the report code to indicate it is a customer changed report
-
Change the Crystal Report Name to reference ZXBCHECKS

-
Click on the Parameters tab and change any references to the old report name

- Click the Create button to save the new report code
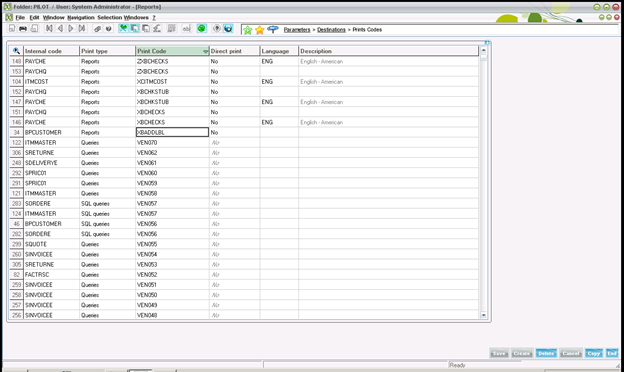
- Go to Parameters -> Destinations -> Print Codes
- Sort the list by Print Code and check through the list to see if the report you are copying exists
-
If the report exists, insert a new line in the grid referencing the new print code

- Click Save to save your changes for the new report
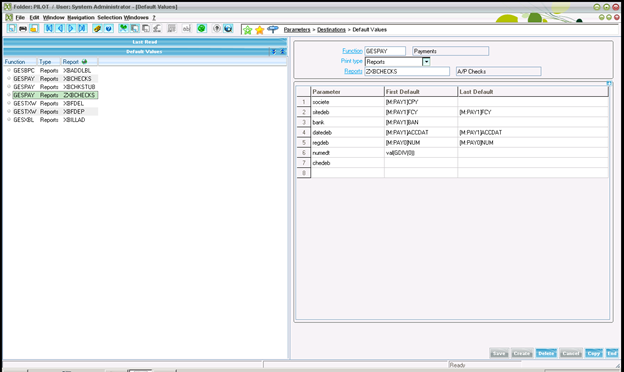
- Go to Parameters -> Destinations -> Default Values
- Search through the list on Report Code for the existing report
- Pull up the entry for the existing report
- Select the contents of the grid and copy/paste them into Excel
- Add a "Z" in front of the reports field to reference the newly created report
-
Add the default values by copying and pasting from Excel into the grid (each field individually)

- Once the parameter defaults match, click the Create button
-
In windows explorer, make a copy of the existing crystal report file and rename it with a Z in front
(servernameC$SAGESAGEX3V6X3V6FoldersX3REPORTENGZXBCHECKS.rpt)
-
To have a report specific to an individual folder, create it in PILOT or PROD respectively. Otherwise the individual folders use the report from the X3 reference folder.
(servernameC$SAGESAGEX3V6X3V6FoldersPRODREPORTENGZXBCHECKS.rpt)
-
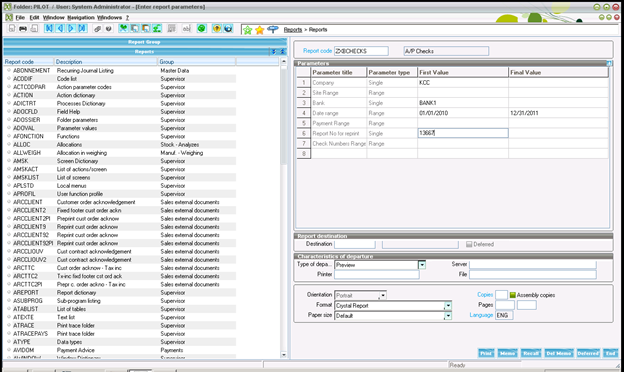
In X3, go to Reports -> Reports and select the newly created report code, enter the parameters and click the Print button to run the new report

-
Make any needed changes in Crystal Designer to the Z form.


